This great-looking Star Wars tank inspired me enough to try to mass-produce several pieces of it. While I've casts for a few pieces, other projects took me after finishing the first model so I've got only one piece so far. Some day I hope I'll finish the others too!
The project took huge amount of time, material costs (silicon rubber molds and resin) were quite big, and making a ready model from cast pieces needed fair amount of work; barrels didn't come out really well and there were many challenging pieces that just asked for air bubbles. But in the end, I'm quite happy for the result. While the tank(s) have been mainly decoration so far, I've recently found Savage Worlds which works excellently for Star Wars gaming and I hope to start another game soon, where these tanks can be used.
It's strange, that after the first shock and learning to shut jar jar(link is external) out, Phantom Menace(link is external) has some really cool stuff! Darth Maul(link is external) is really magnificent villain, I'm almost sorry he went in the movie. On the other hand, it's better to end something while it's still cool.
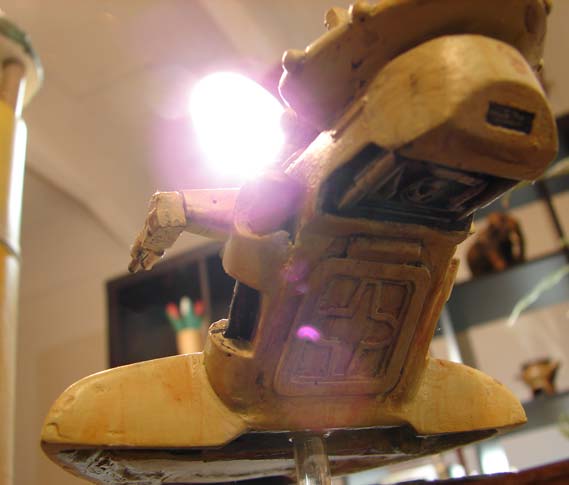
 First photo of the new model. The glue is still drying.


I started to plan making an AAT -miniature when it started to get obvious that we're not getting one in SWM Universe -set. The process from starting to sculpt the original pieces to first complete tank took about half a year.
W.I.P. photos:
 My first photo taken during creation. There was a lot of interesting phases before getting this far, but I didn't think of photographing the process earlier. Too bad.
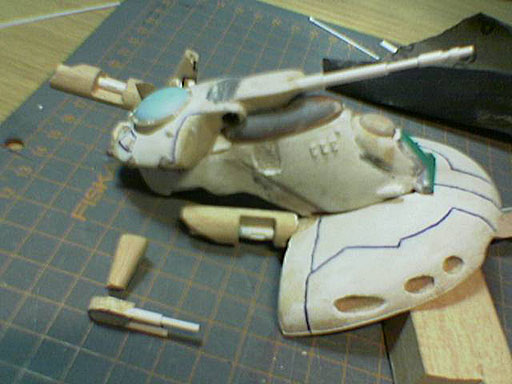
Another photo, details added. The original tank is ready here, but pieces are unattached as this original was never meant to be glued together, but was just for mold making process. Of course, it would have been very nice if the model would have survived, but that couldn't be helped.
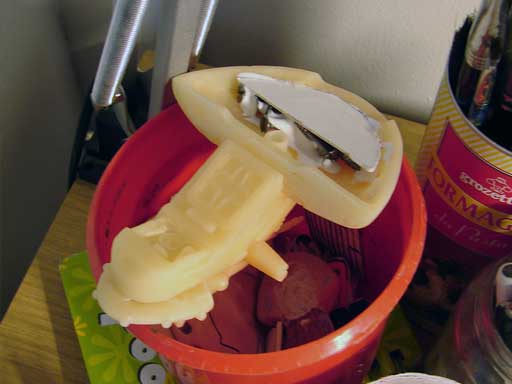
 Photo from cast pieces I'm about to start working with. Molds are ready and there's already pieces for a few models waiting.
 I did the balancing 'quick and dirty' - I cut a piece of cardboard, glued it to the base with help of holders I made to the base, hit some metal junk in & glued them in.
 Glued together, filled some gaps, waiting for paint! Looks a little ugly right now, I'll have to check if I can do anything else before painting.