I've been publishing a lot of roleplaying/gamemastery/miniatures articles recently, and now it's time to get back to modelling. This time I'll show your how to create realistic -looking dunes and desert terrain yourself.
Background and motivation
I've built a lot of fantasy terrain, but not before starting to play Star Wars miniatures game has it come to my mind to create desert terrain. As I started to do it, I realized that it's pretty simple so I could as well create a tutorial while doing it.
Don't cut your fingers or any other of your body parts either. We're using very sharp knives here... If you haven't read my tutorial about cutting and measuring cardboard, I'd suggest you do it!
Materials and tools used
1mm carboard, thinner cardboard (I've used pizza box), painter's tape, filler powder, wood( or paper) -glue, x-acto blade, scissors, sand (very fine, from pet store). I've also used pigment powders to color the paste I've made from filler, glue and water. Miniature -paints or just about any paints work probably as well.
The Tutorial
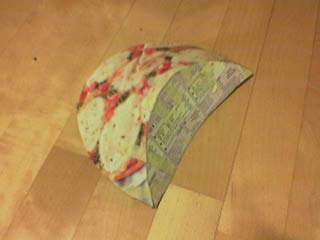
The first you'll need is two moon -shaped pieces of thin cardboard. If you don't have feeling for this kind of stuff, you might need a try or two, but you get the idea from the photo above. Tape these two pieces together so the front piece is convex and the smaller back -piece is concave.
You should first have some kind of base where the dune is attached - it may be cut to dune -shape later (but it should be initially larger as you'll know the exact shape of the dune only later), it could be a plate or anything the game you need requires - I made it specific pattern of squares as I made the dunes as blocking terrain for Star Wars miniatures. Cut the first, larger upper piece of the dune first. Once you've cut it, try it on the base
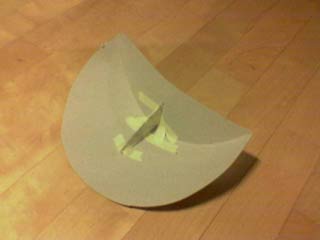
You'll probably need to tape a support piece inside to keep the piece high enough. Cut the piece so it will match to shape you want the dune to be in the middle. After this phase, you'll probably want to add some glue inside and let it dry and make the structure strudier.
Now put the piece on the table. You'll see which parts need to be cut to make it fit better the surface. Scissor might be better to use here than knife. You don't need to make it fit perfectly, you can use painter's tape, glue and filler to attach the dune to the ground and fill up the seams with it.
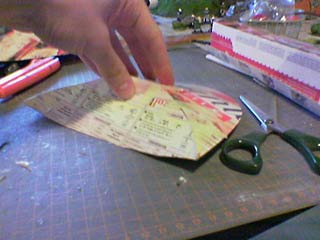
Placing the pieces against ground - much excess here!
The following is needed if you're placing the dune on specific type of terrain, like I'm creating it on a squared terrain. Before attaching it to base, place it on the cardboard (or foamcore or whatever you'll use as the base) and place the piece over it. Note that the piece is likely to be bendy so pay attention to how you place it on the base. Use pencil to draw line around the piece, so you will know it's limits when you cut the base. You should perhaps use some kind of template to see how the dune will sit on the terrain pattern, or draw the grid, hexes etc on the base before drawing the edges of the dune. Once you've drawn the shape of the dune on this pattern, you can cut the excess parts of the base off. Rounding corners might make the piece look better.
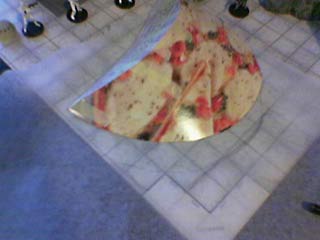
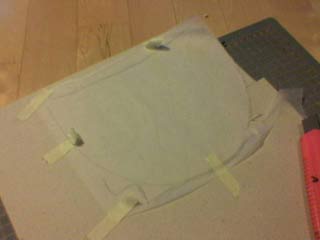
Testing the dune against map pattern. I used a semi-transparent paper here, but it might be better to draw the pattern to the base itself. In the second photo I've taped the drawn pattern & squares on the cardboard and use it as a template to cut the cardboard. I wouldn't use this technique anymore even if it works, it's simpler to just draw the pattern.
Glue the piece to it's base. After the glue has dried, make a mix of filler, glue and water (naturally) and make sure there aren't any holes between the base and the top, nor between the top parts. Painter's tape can be used if there's larger gaps.

Now, mix pigment powders/paint to another, larger set of filler mixture and find a nice color for the base color of the dune. It should be at least a little darker than the sand you are going to ripple on it. Apply it on the piece, as smooth as possible.
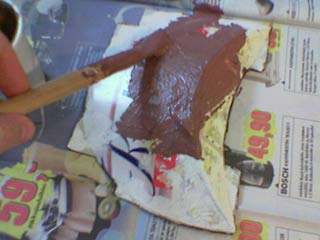
Make sure you have moderately thick layer of wet, colored filler-mixture. When the filler is wet, ripple sand over it. Let dry. if enough sand didn't stay on it, do another a bit thinner mixture with more glue and color closer to the sand color and repeat the process after the first layer is dry. Spraying the paint might work better than brushes as some of the sand may fall off with a brush.
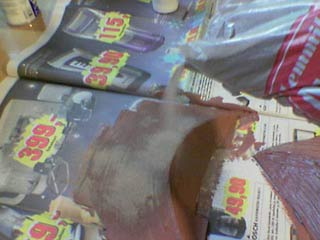

Now, you'll just have to wait for dunes to get dry. If you aren't satisfied on the color, you can do careful spray-painting or drybrushing to tune it. Remember, sand is deadly for your brushes!
And we are ready! I hope you enjoyed the tutorial!
